COLLECTION 17 PLUGINS CINEMA C4D13 -C4D16 WIN / MAC
Overview
Changelog
Details
UVtoObject |
| Creates a polygon object representation of the UV map of another object and synchronizes edits automatically, enabling you to edit UV maps with polygon modelling tools. This can be a big advantage for instance when an atlas for multiple objects must be made or when precision work with snapping is required. Link to UVtoObject pictured guide Quick Guide Select a couple of objects. Call the UV to Object command. Now you should have a new group of objects. Each of the children represents the UVs of the respective original object. The meshes are automatically synchronized with the UVs of the original object. This works both ways. You can edit the UVs and the changes will be reflected on the object representation. Likewise you can edit the objects and the changes will be reflected in the original UVs. You are allowed to (dis)connect polygons, and move points around. But the number of polygons must remain the same as in the original. If case of a mismatch, the automatic transfer to the original UV-tag is stopped and a warning is printed in the UVtoObject Tag Gui. In the UVtoObject Dialog: Width and height determine the size in world space. Match their aspect ratio with your texture for non-distorted display! "Equalize Islands" resizes islands to have all the identical uv-area to polygon-area ratio. Furthermore there are options to create a camera that is useful for making a rendering of the UVs. The cell shading post effect is great for that! Then there is the option to create a background plane to put your texture on. Fun stuff: you can multiselect objects and create atlases easily. Basically that is the whole point of this plugin, beside the having the better usability of the normal polygon modeling tools of course. |
CopyPastePolys |
This plugin provides copy/paste commands for polygons. You can copy polys from one object and paste them into others. It preserves Selection Tags, UVW Coordinates, HN Weighting, and VertexMaps, in the sense that data from these tags is pasted into matching tags Tags of the same type with the same name.  |
Point Collapse Tool |
With this tool you can quickly melt two points together. The recent version (as of 10/02/2014) also merges corresponding UV points. This makes it still useful and much needed. Otherwise it is superseded by the build-in Stitch and Sew function.  |
Transform |
 This is a tool plugin inspired by the transform tool in Photoshop for example. It has the special ability to change the size parameters of the basic primitive objects and scale these objects non-uniformly. It displays a cage with handles which can be dragged to move, scale, rotate and shear the selection. It also displays four icons which can be clicked to switch between modes. Snapping is supported, meaning the handles snap accordingly. This is a tool plugin inspired by the transform tool in Photoshop for example. It has the special ability to change the size parameters of the basic primitive objects and scale these objects non-uniformly. It displays a cage with handles which can be dragged to move, scale, rotate and shear the selection. It also displays four icons which can be clicked to switch between modes. Snapping is supported, meaning the handles snap accordingly.
 |
Duplicate Object |
This is a minimalistic "duplicate" generator. It moves cloned objects along a fixed vector, and/or rotates them around it's own y-axis. That's all :)  |
Noise Deformer |
A simple noise deformation modifier.   |
SplineConnector |
 The SplineConnector is a generator object that connects many spline object to a single object. This is useful for using many splines in one sweep object. The SplineConnector is a generator object that connects many spline object to a single object. This is useful for using many splines in one sweep object.
 |
SplineNoiseDeformer |
 The SplineNoiseDeformer is made for deforming splines by the usual noise functions. A spline is deformed to a helix shape by moving points perpendicular to tangential direction. The strength of deformations is determined by the noise function. The SplineNoiseDeformer is made for deforming splines by the usual noise functions. A spline is deformed to a helix shape by moving points perpendicular to tangential direction. The strength of deformations is determined by the noise function.
 |
UV Deformer |
This is a generator object actually. It can map objects from an area which represents uv space to the surface of the respective object.  Example Scenes The mapping of the input objects can be done point by point or by translation/rotation/scaling of the whole object. The output consists of polygonized objects or clones respectively. Splines also work, in which case line objects are generated. There are various options to control the details of the mapping procedure. There is no description of these. Example scenes are available though. Known issues: C4d R11 seems to have broken the handling of generator objects as map. Often they won't be recognized and the UV Deformer will do nothing. Turning the generator check mark off/on makes it work temporarily. |
Smooth |
| A mesh smoothing plugin based on several variants of the discrete Laplacian on triangulated surfaces. Available as deformer and command plugin. Just put the deformer under a polygon object to make it smooth. It supports restriction and weighting by vertex maps and it also supports the falloffs that were introduced with Mograph. It can be quite useful for CA to reduce unwanted deformation artifacts from bones. The dialog variant supports smoothing of vertex maps! So, if a vertex map is selected, it will be smoothed instead of the selected object. The amount parameter controls the strength of smoothing. It corresponds to a single time step of the solution of the curvature diffusion equation. Large amounts (steps) can be used at the cost of accuracy with respect to the continuous time solution. For more accurate results, the number of time steps taken can be adjusted. 1 is most often good enough, but if you need extremely strong smoothing you might need more iterations and smaller steps. The Squared Operator option makes smooth transitions to non-smoothened areas (can sometimes produced odd results though). The different operator types select various approximations to the continuous Laplace operator. Pick one that works best. The method is based on the paper by Desbrun, M., "Implicit Fairing of Irregular Meshes using Diffusion and Curvature Flow", Proceedings of SIGGRAPH 99. Furthermore there is new custom cone-shaped falloff type which is quite versatile but also a bit inconvenient to use. |
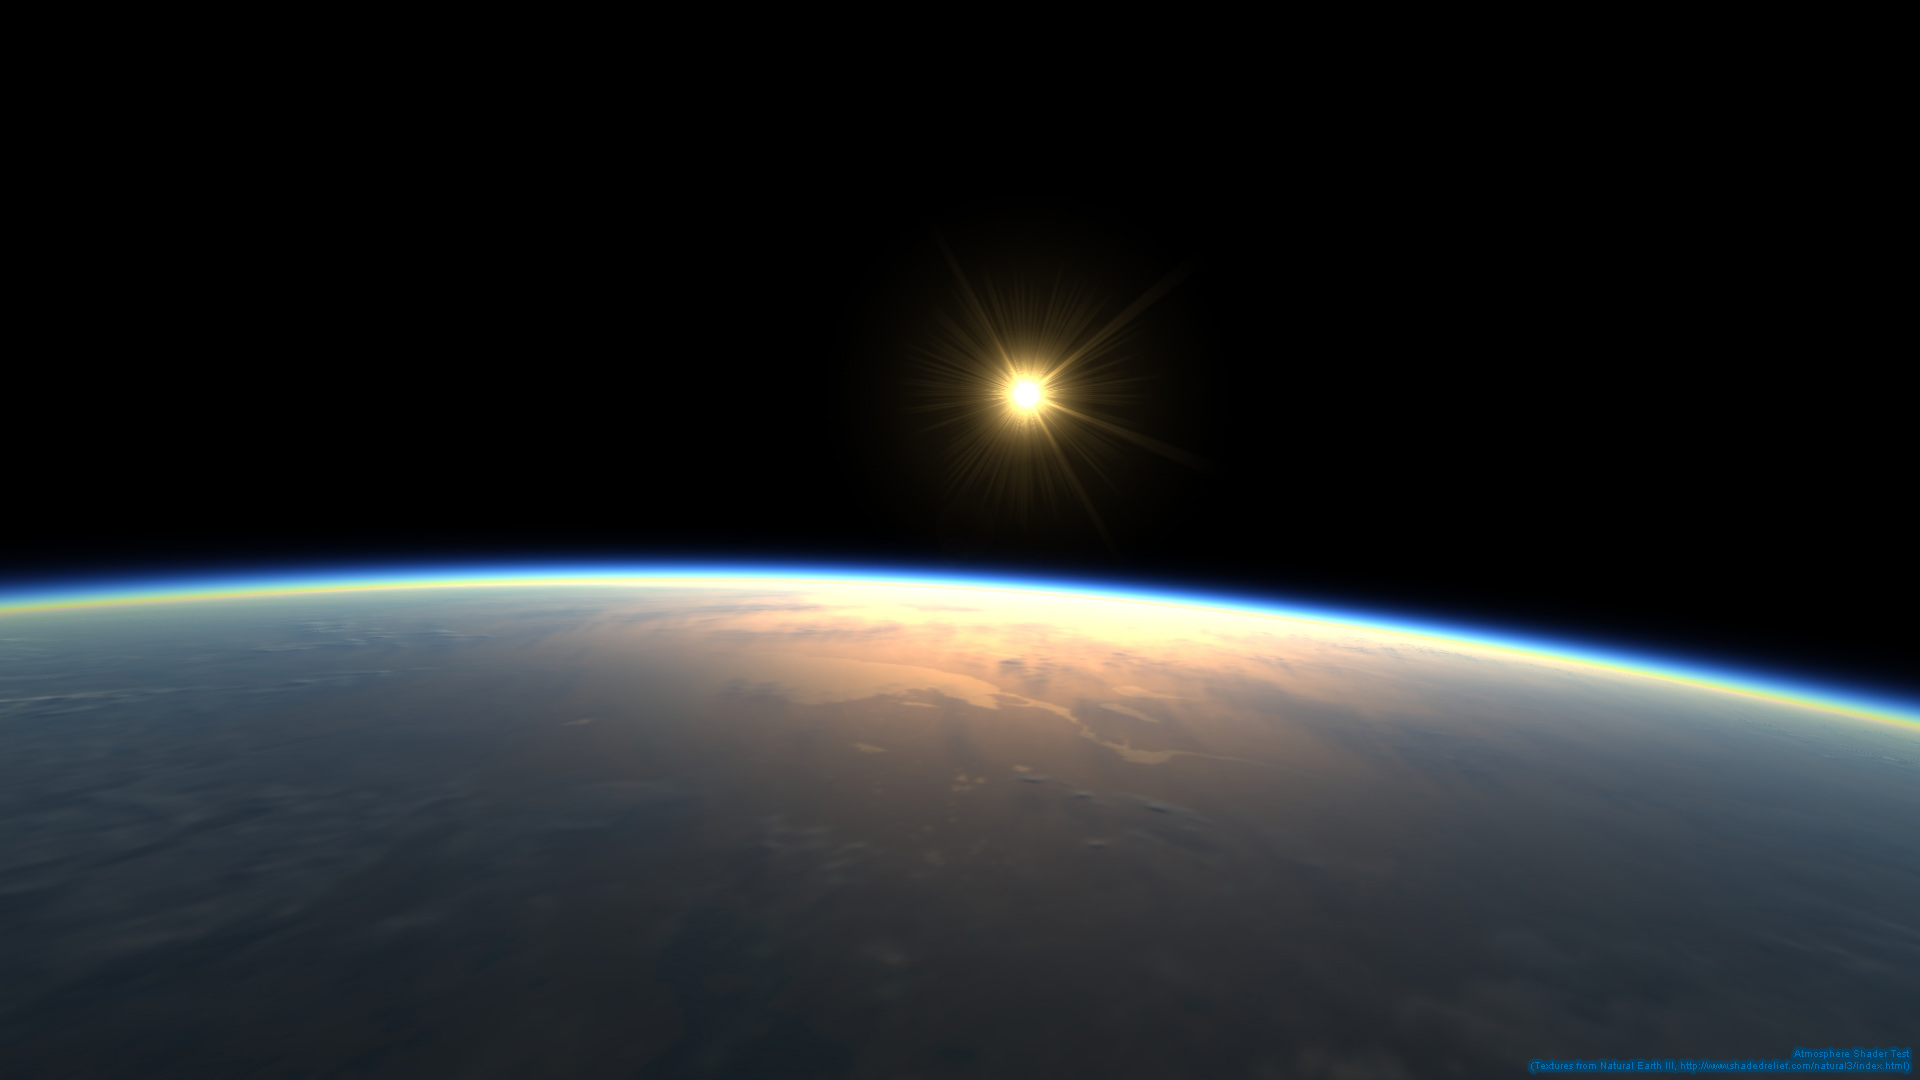
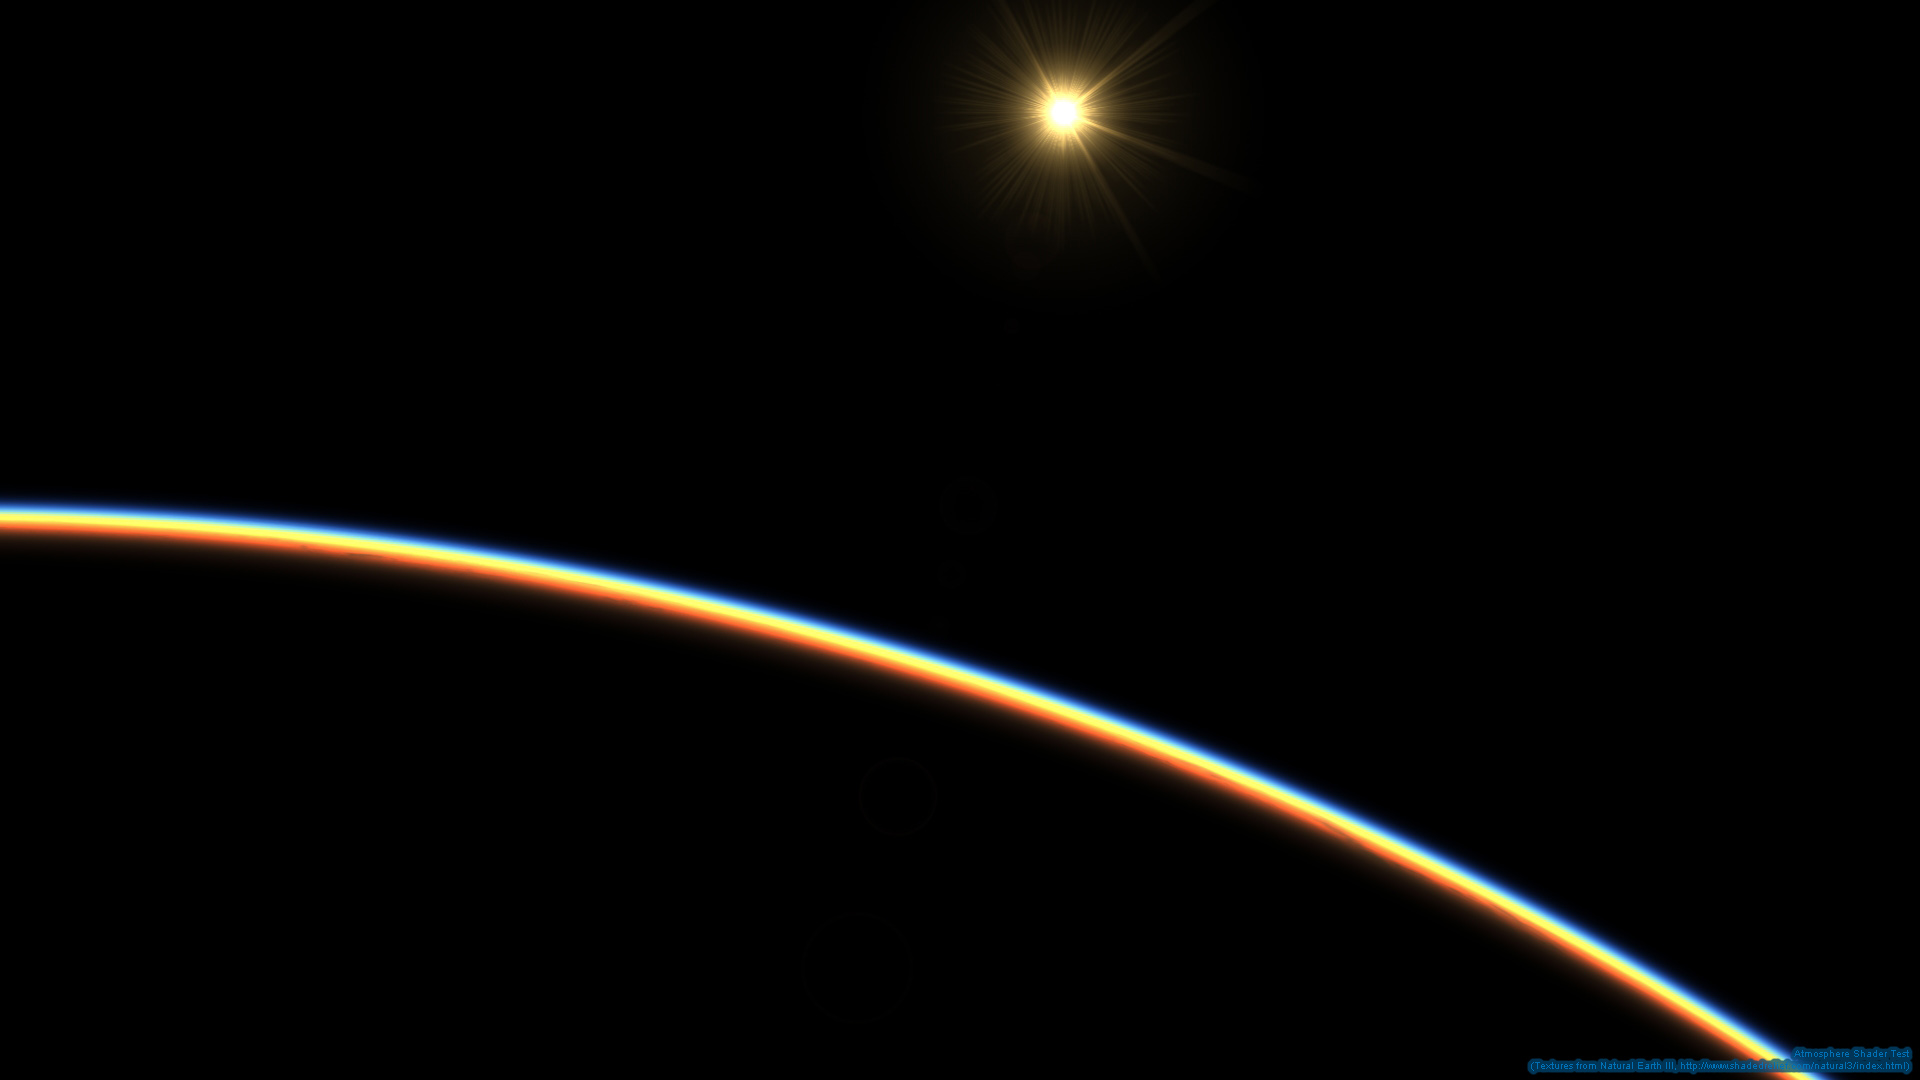
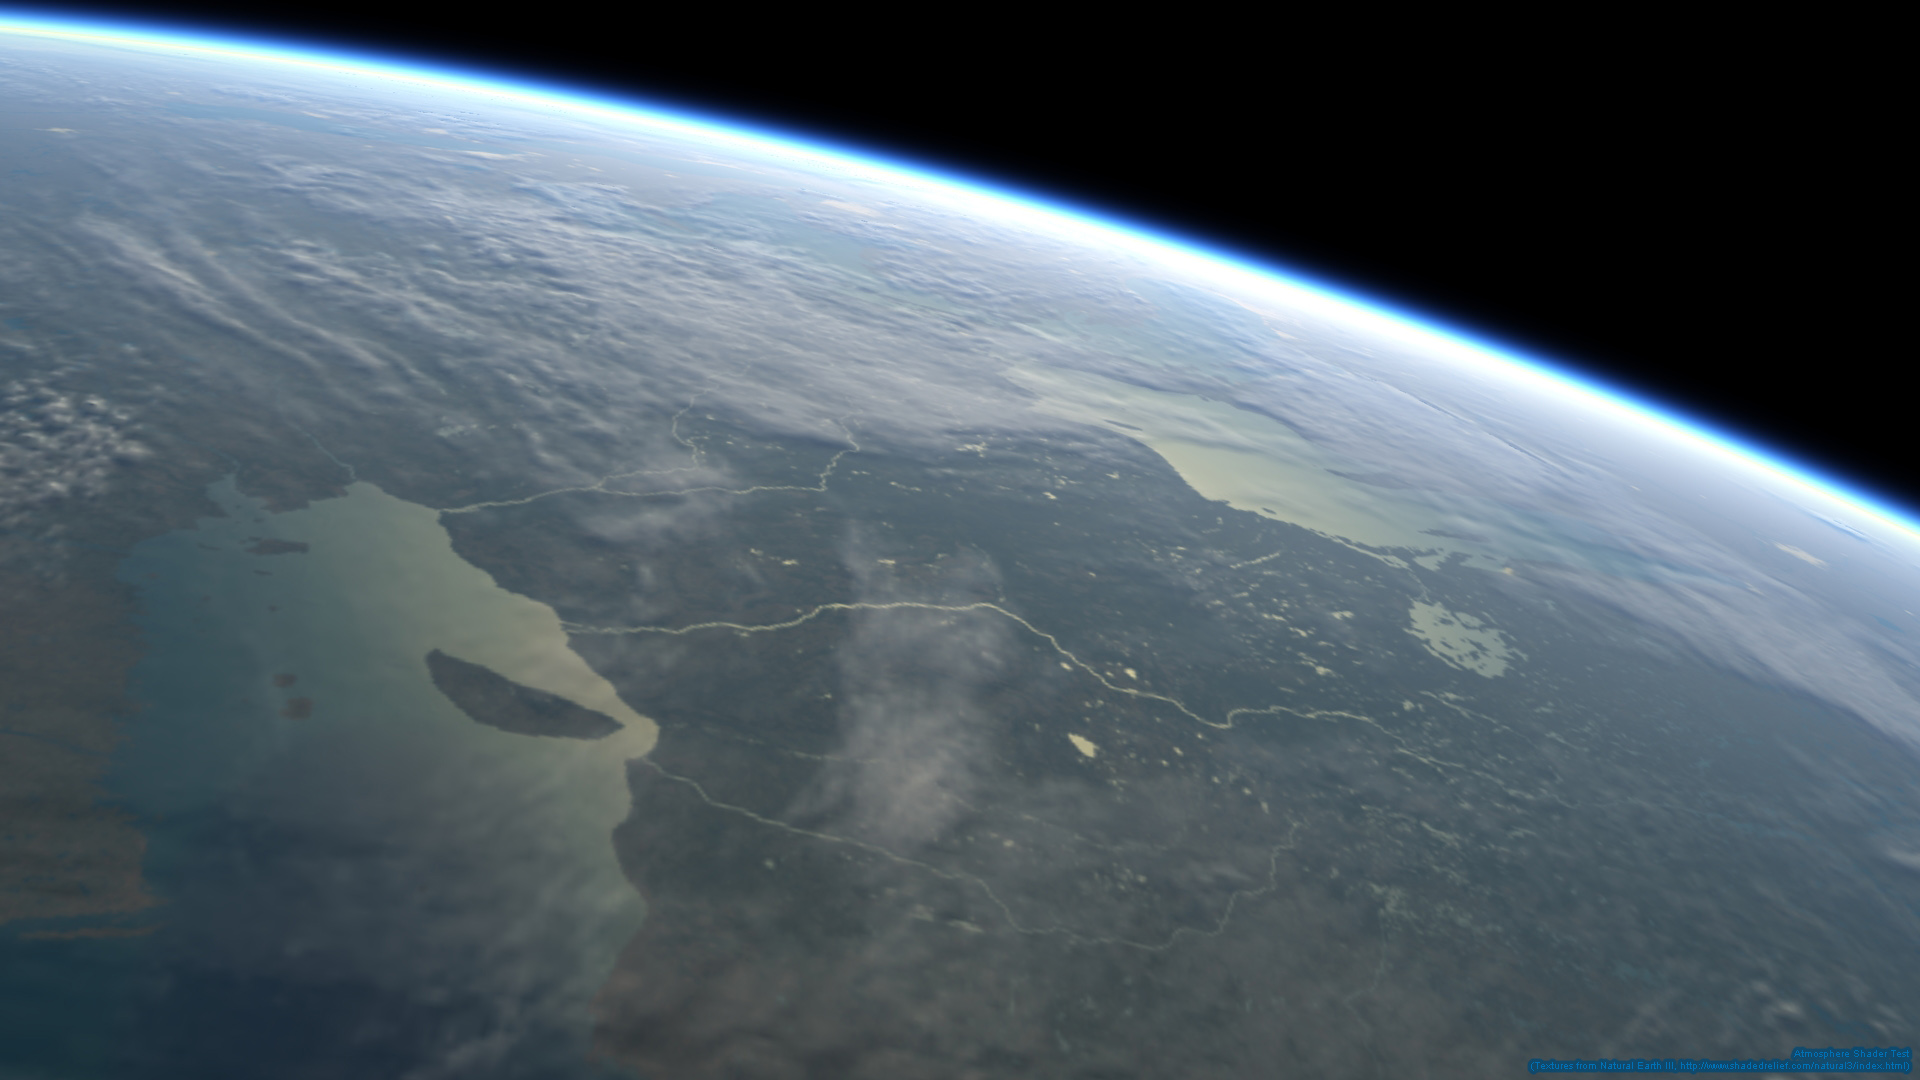
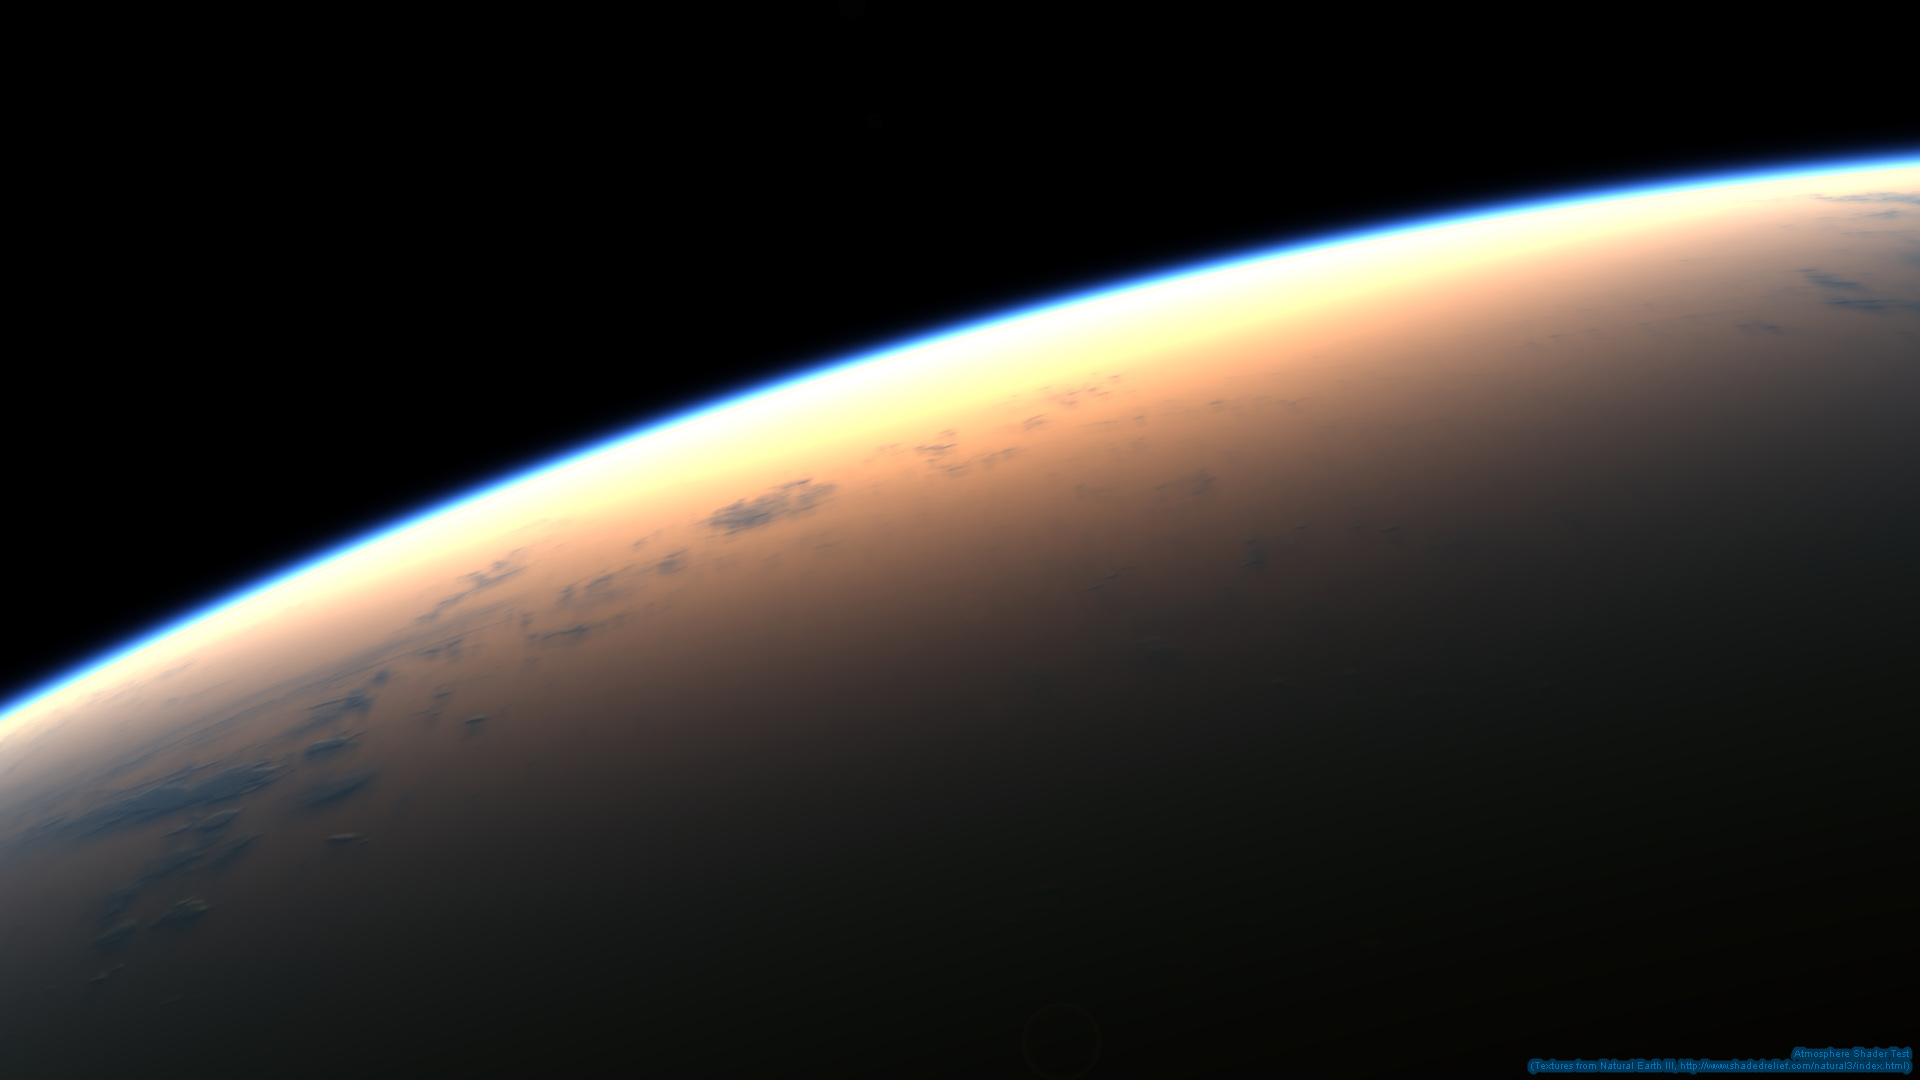
Atmosphere Shader | ||||||||||||
This is a plugin material to simulate light scattering in the atmosphere. It is primarily intended for views from space. It can also handle views close to the ground and will produce acceptable sky colors and aerial perspective. But it does this quite inefficiently.
| ||||||||||||


Cellular Shader |
 This shader renders Worley´s Cellular Noise Functions, perfect for Stone Walls, Floors, etc. It is quite customizable with many options for the look of the noise functions, animation, spatial period. This shader renders Worley´s Cellular Noise Functions, perfect for Stone Walls, Floors, etc. It is quite customizable with many options for the look of the noise functions, animation, spatial period.  |
Extended Starfield |
 This is a shader plugin to render star field backgrounds for space scenes. It is similar to the build-in star field shader but with a lot of options. This is a shader plugin to render star field backgrounds for space scenes. It is similar to the build-in star field shader but with a lot of options.  starfield_demo.c4d There are channels for auxiliary shaders to determine the spatial density distribution of stars (Density Map), and their brightness distribution (Intensity Map). In addition the brightness can be controlled by probability distribution functions (Intensity PDF/Dark Intensity PDF) which determine the probability that a star has a certain brightness. The Dark Intensity PDF is used when an spatial intensity map is set. The final brightness is interpolated between the values picked from the Intensity/Dark Intensity PDFs. Analogously you can set a probability distribution for the star size. Link Size to Intensity means that bright stars are also large and vice versa. |
ThingsOnSurface Shader |
 The ThingsOnSurface Shader places many many small instances of a brush on the texture. A brief description of its parameters follows. The ThingsOnSurface Shader places many many small instances of a brush on the texture. A brief description of its parameters follows.
 The file for download also contains the scene files to both of these images. |
Time Shift |
This is a shader plugin to change the time value for the evaluation of another shader. The main purpose of this plugin is to be able to use the same animated texture several times, at different times without having to create a lot of copies of virtually the same material.  (timermovie.c4d just generates a movie texture which timeshift.c4d uses). |
Simple Colormap |
 This is a videopost plugin for color mapping. It works analogous to Cinema 4Ds native color mapping effect but with different parameters. The reason for its development was that the native version is quite unintuitive use in my opinion. This is a videopost plugin for color mapping. It works analogous to Cinema 4Ds native color mapping effect but with different parameters. The reason for its development was that the native version is quite unintuitive use in my opinion. If Boot Low Intensities is off, the mapping is defined as 1-exp(-Exposure*L), where L is the original pixel intensity. If Boost Low Intensities is on, a piece of a gamma correction curve (with gamma=2.2) is used for low intensities. If Use HSV is on, the pixel color is first converted to HSV and the mapping applied to the V component, otherwise the mapping is applied to individual RGB channels. The 0.->, 1.0 -> etc. fields are there to show the result for specific intensity values DOWNOALD . 
|
EmoticonEmoticon